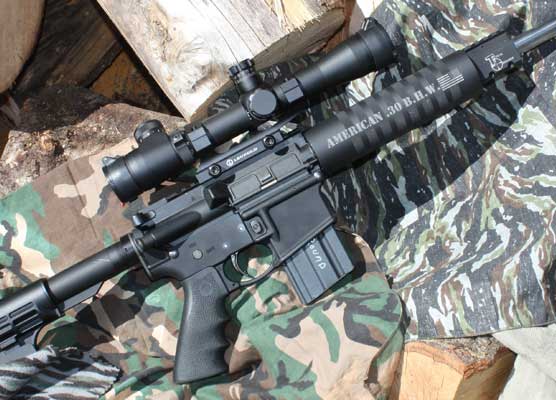
Mounts Count!
a boring but critical part of the equation
Like racing tires and blue-ribbon taxidermy, a costly scope avails you to nothing if stupidly attached.
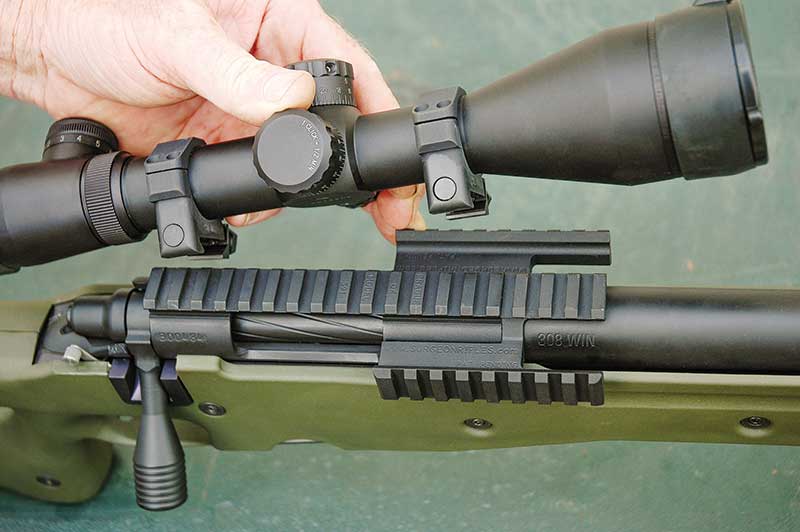
Not until after I laid the scope in the rings did it look tilted. The rifle was level. A scope not pointing where the barrel points has limited utility, so I boxed the tilted optic for immediate return. Then, clever lad I am, and with the assistance of another scope that also tilted, I discovered the tall rear ring was in front, the short front ring in back.
Simple As It Gets
In this age of drones, smart phones and automobiles who squawk at center stripes and roadside weeds, a scope mount is downright primitive. No moving parts. No invisible parts. Assembly instructions in English, Spanish and Neanderthal.
Still, mounts do not suffer fools. Piqued because glass gets all the attention, they cackle silently when a scope carelessly attached slips or rattles loose from its moorings, scuttling an important shot. Herewith a few observations on this unglamorous but essential link between your sight and your bullet:
Mounts 101
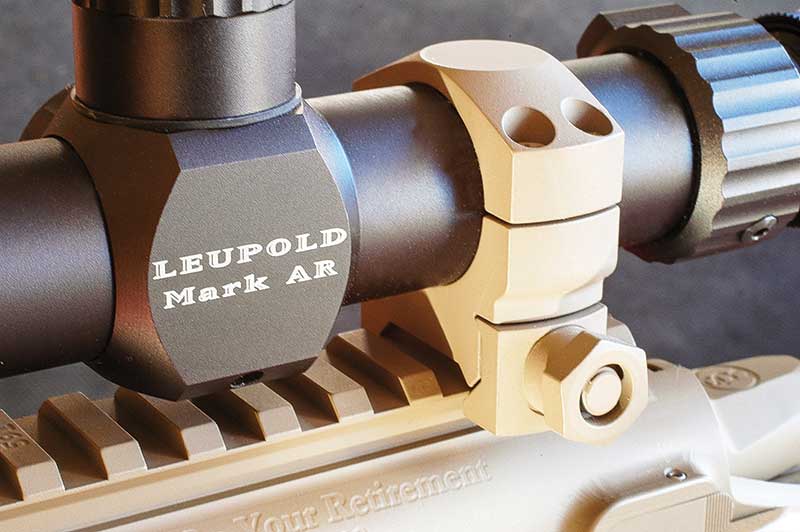
Steel and alloy mounts are alike worthy. Steel is heavier and sturdier. It can be machined to more petite dimensions without sacrificing requisite brawn. Steel bases and rings can be cinched tighter without distortion. But tightened too ambitiously or misaligned, steel rings can mar scopes. Ditto when they’re not concentric or their edges properly finished, even if you install them perfectly.
Alloy (aluminum) is softer, lighter, less expensive in raw and finished form, and kinder to scope tubes. Alloy bases and rings don’t appear as crisp as the best steel mounts. No matter how hard you try to match it, an anodized finish can’t replicate the look of blued steel. Scarred, alloy is harder to touch up. On classy rifles, most discriminating shooters prefer the look of steel. They’re snobs. Me too.
How you install mounts matters more than which you prefer. Some tips:
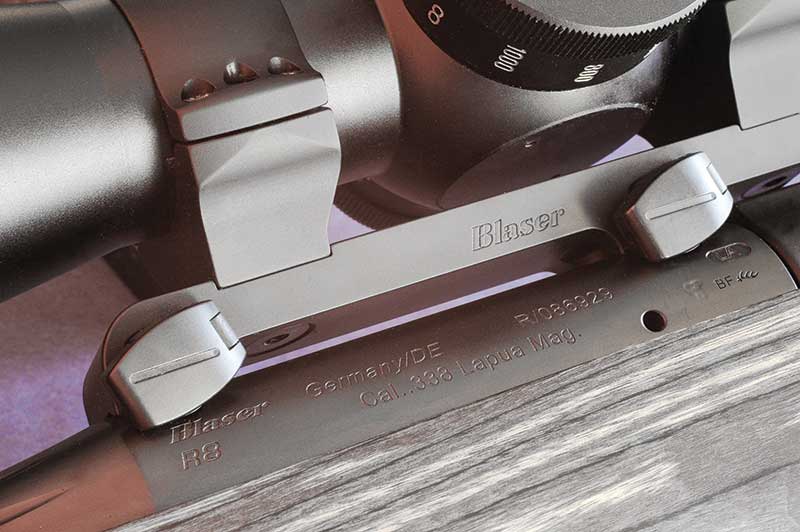
1. Check first the bases fit the receiver contour, holes align, and front and rear bases are of correct height.
2. Lay your scope across the bases. Will rings support the scope where you want them? An extension ring or base can shift ring position.
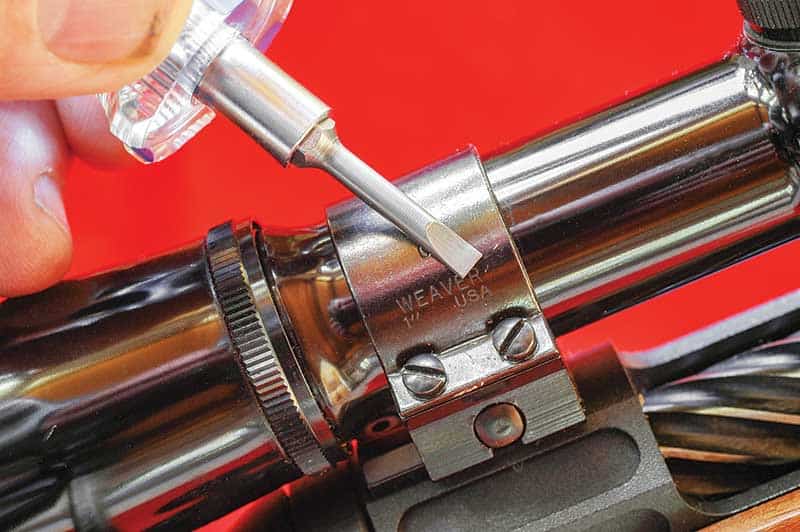
3. Use a hard, close-fitting screwdriver tip. Bases must be tight! A torque wrench from Brownells helps.
4. I don’t use Loc-Tite or other thread-seizing compound. Think! You may later want to take things apart.
5. Check ring edges and interiors for burrs. To get a perfect fit, lap split rings with a kit from Brownells.
6. These days, mixing ring halves may be OK; but I keep ring halves paired as packaged.
7. Ring liners to grip or (per Burris) better align scopes fill a need you may or may not have.
8. When slipping a Weaver Tip-Off ring onto a scope, pad the lip with a slip of paper to protect the scope finish.
9. Grease the dovetail on a ring before turning it into its slot with a 1″ dowel. (Don’t use the scope!)
10. I wipe rings and screws with an oily rag, then rings with a dry rag, and ensure the scope tube is clean.
11. With horizontally split rings, leave the bottom halves or bases loose on the rifle to let the scope align itself before you snug top halves.
12. Vertically split rings should grip at top and bottom evenly, and be solidly locked to the base!
13. Locate the scope in the rings; leave 1/8″ free tube between the rings and turret and tube junctures.
14. Snug one ring and cheek the rifle fast. If you don’t get a full field of view, move the scope. Check all clearances: power ring/base, objective bell/barrel, ocular bell/bolt knob (cycle the bolt!).
15. Use a level or eyeball the reticle to square it up without letting the scope slide forward or back. Before cinching a Weaver ring, rotate the scope slightly toward the lip side; cinching will rotate it back.
16. Snug one ring, cheek the rifle with your eyes closed, open them to check eye relief and reticle. Adjust.
17. Tighten both rings, alternating screws as you would lug nuts when installing a tire. No need to make them cry for mercy, per base screws. Over-tightened rings can dent, even crush scope tubes.
18. Rings tight, and ready for cinching to a Weaver or Picatinny rail, tug the scope against the rail’s lugs as you snug rail screws. The lugs will jerk against the rings in recoil. Deny them a running start.
Before you give screws their final turns, leave the rifle overnight then cheek it fast. If the reticle got crooked as you slept, adjust. I often fire from slinged-up prone so check eye relief in this position.
You’re Not Done
Afield, check screws periodically. No need to play gorilla. Indeed, if you nudge a screw, you may change point of impact. If a screw doesn’t yield to firm (not vigorous) pressure with a screwdriver, it’s in no danger of coming loose. But do check! Even modest recoil can work screws loose over time.
One Namibian evening long ago, I took careful aim at an eland 70 yards off. An easy shot. A soft thud signaled a hit too far back. At dawn a tracker helped me trail the beast. I managed to break its neck as it burst from cover. My failing of the day before puzzled me, as the killing shot hit where I’d called it.
Soon thereafter the .300 sent another shot awry and I checked zero back at camp. The bullet hit center. Off to the bush I went — and muffed yet a third chance! The next shot drilled a paper bullseye. Only then did I check the Redfield mount’s windage screws. One was on the verge of falling out. The ring thus had nearly 1/4″ of play. Recoil bounced it from the snug screw to the loose screw, the next shot bouncing it back. The wagging scope sent every other bullet off-target.
Another time, benching a .416 Rigby, I was beaned by a scope flying end-over-end from the rifle to bloody my noggin before spinning off into the bush. A wakening. Checking screws is now routine.

