Secrets Of The Red Front Sight Insert
It Can Be INSTALLED Easily If You Follow A Few Simple Rules
Revolver shooters are always looking for ways to improve visibility and contrast of sights. One way, popularized by Smith & Wesson, is to install a colored plastic insert in the front sight blade. Red is a color not often found in nature and would stand out well against most any target (other than a stop sign). It’s one of the most popular custom revolver modifications.
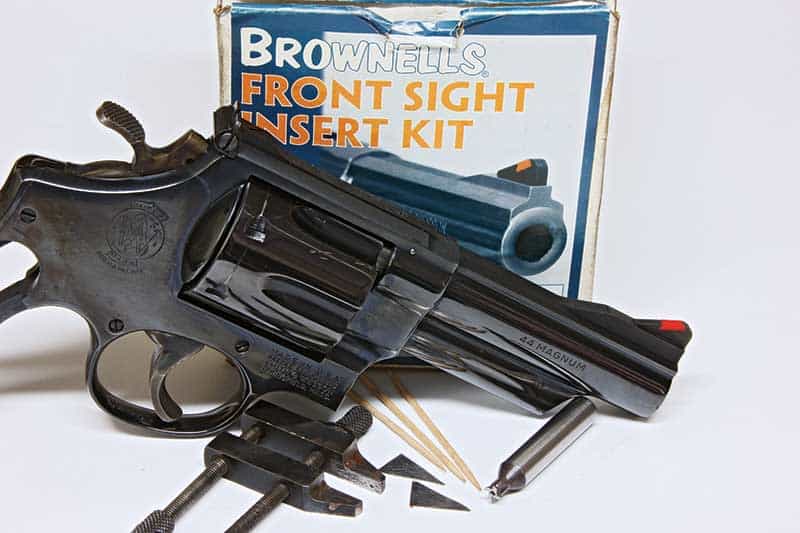
Not long ago I took a seedy M29 in trade, which arrived with a clear, pink front sight insert that had to go. At first blush, creating a new insert looks terribly easy, and it really is if you know the secrets. If you don’t, you are doomed. Early on, desperate shooters cut up everything from toothbrushes to taillight lenses for material. Laboriously filing out an insert and fitting it perfectly to the dovetail slot was, as they say in polite society, a pain in the keister. Eventually Brownells developed a dedicated kit using a mix-it-yourself epoxy to be dyed your favorite color and simply poured into the dovetail slot with perfect results. Or so it was said.
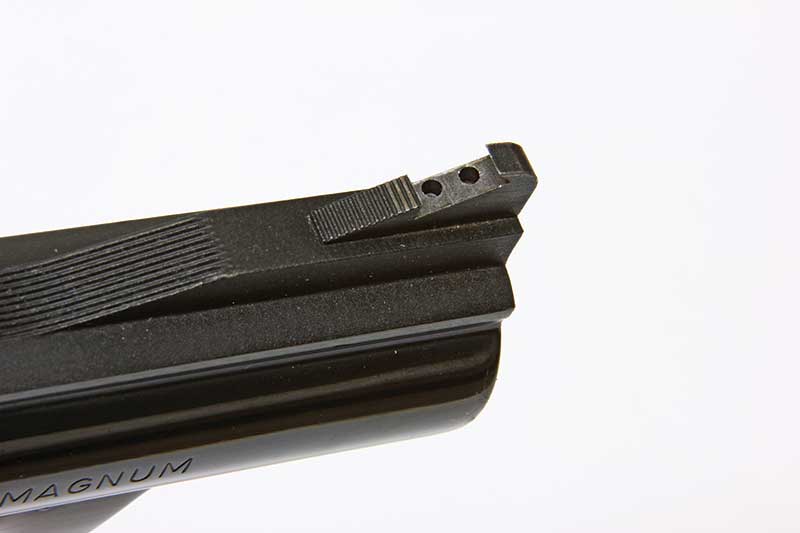
After a dozen or two tries, I hit on a combination of little techniques that make the procedure palatable. Let’s touch on the easy part first. Many times you will be replacing an insert that has come adrift so you won’t have to machine a new insert slot. But, if you are working with an unmodified sight blade, you will have to make the slot. It you have a milling machine, it is a small matter to machine a perfect dovetail with a 0.25-inch dovetail cutter. I cut mine about 0.060-inch deep. The problem with machined slots comes when you have a non-detachable sight blade stuck to a tapered barrel. Holding it is tricky. At this point, it is often quicker and easier to use a small pillar file and either a safe-edged triangle or small, dedicated dovetail file, doing it the old-fashioned way—by hand.
Secret No. 1: Cut the dovetail slot right up to the top edge of the blade, or else you will have a bit of black sight blade on top of the insert which presents a confusing sight picture. While the epoxy is pretty grippy, it won’t hurt a bit to drill a small hole or two in the bottom of the slot into which epoxy can flow and lock in the insert. If you are lucky, brave or a happy combination of both, you can do this with a No. 1, 60-degree countersink in a hand drill. The rest of us should use a drill press. Beware the upper edges of the slot, as it is easy to chew into these inadvertently. Now comes the hard part. There are two real secrets.
Secret No. 2: Slather the sight blade and surrounding countryside with Acra-Gel release agent, taking great care not to get it into the dovetail slot. You want the insert to stick like paint. However, the release agent will dramatically simplify cleaning up around the insert.
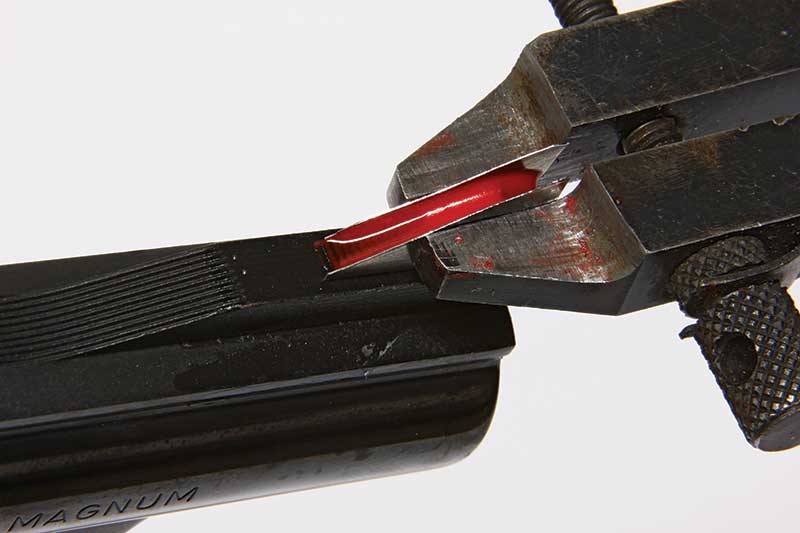
You need some simple forms to keep the epoxy brew in place. I use a couple of small triangular shaped pieces of 0.015- to 0.020-inch shim stock cut just for the occasion. With a small machinist clamp with narrowed jaws, clamp the forms in place with at least 1/16 inch of form above the face of the sight blade and dovetail slot. I like to see at least 1/8 inch of form material past the ends of the slot.
Secret No. 3: The differential pour—a term used by professionals of the trade meant to awe and confound their victims. You can’t create a stiff mixture and have it flow well off your pine goo applicator and into the small, sharp corners of the dovetail slot. What will happen is it won’t and, once the mix sets and you remove the forms, you will find voids in the corners. Bad form. So, I start with a near-water like consistency and get it into the corners, just covering the bottom of the slot. Then I’ll add more white powder to stiffen the mix and nearly fill the slot. Since this mixture shrinks a great deal, stiffen the mix further to a pancake-batter consistency and gob it on until you have at least a 1/16-inch build-up over the top of the blade surface.
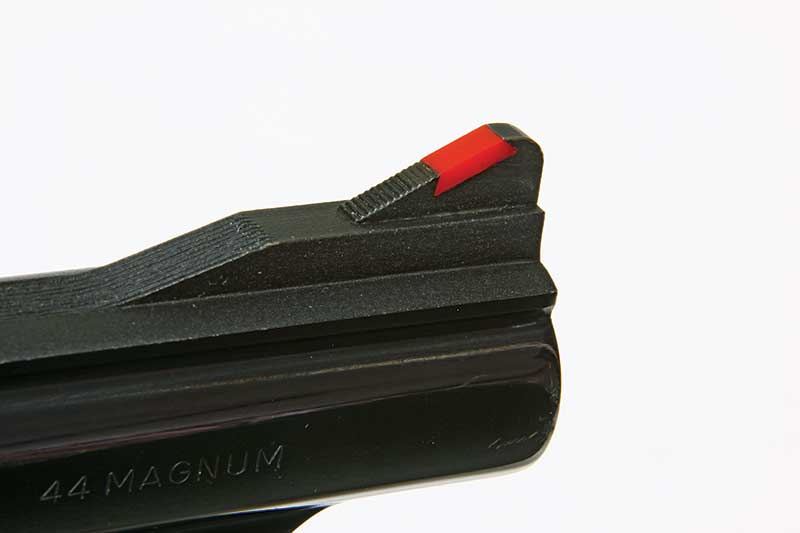
Set-up time is about half an hour. Remove the clamp and forms carefully. Whatever you do, resist with all your might the temptation to start picking off the excess and flash. This epoxy sets up hard and is quite frangible. Nothing like wrecking a perfect pour with a gruesome chip. Instead, start filing very carefully with a sharp fine file to bring the surface down to grade. Once you get to steel, stop. With a very sharp scribe, pick out any material in the serrations. At this point, you should be able to break or knap off any excess with a stylus of sharpened micarta or pakkawood. The release agent will minimize any risk of fractures. To brighten the insert face, use a little 600- or 1,000-grit wet-or-dry emery paper. Re-black any white metal with cold blue. If all goes as planned, you will have a first-class insert.
This job is simple to do but difficult to do well without a trick or two up your sleeve. Now you know them, too. No need for thanks—just send me a bottle of Lagavulin when you’re done.
Brownells Inc.
200 South Front Street
Montezuma, IA 50171
(800) 741-0015
www.brownells.com
