Real Avid Level Right® Pro Simplifies Scope Mounting
“Hold it…don’t move.” I took my hands off the scope and stood back as if awaiting a citation. I remember my first scope mounting experience. I was constantly in the way of my dad looking over the barrel and somehow I always messed something up (or at least it seemed to be my fault). I hated the painful process. As soon as I began tightening and torquing down the scope rings, the levels moved and I had to start all over again. You could drive yourself insane — chasing minuscule changes in precariously balanced tiny levels.
The Level Right® Pro from Real Avid has completely changed this experience, taking a more user-friendly and unique approach. This master grade precision rifle level doesn’t rely on turret alignment, instead aligning the physical scope reticle to the horizontal gun plane. I must admit, I was skeptical at first. Everyone I knew used little levels and/or a plumb bob. You could also do it by sight, but every time you looked through the scope afterwards doubt began to creep in. Handing it over to a friend made it even worse. Hearing “Your reticle’s off…” in a ton of cautious trepidation can make your skin crawl.
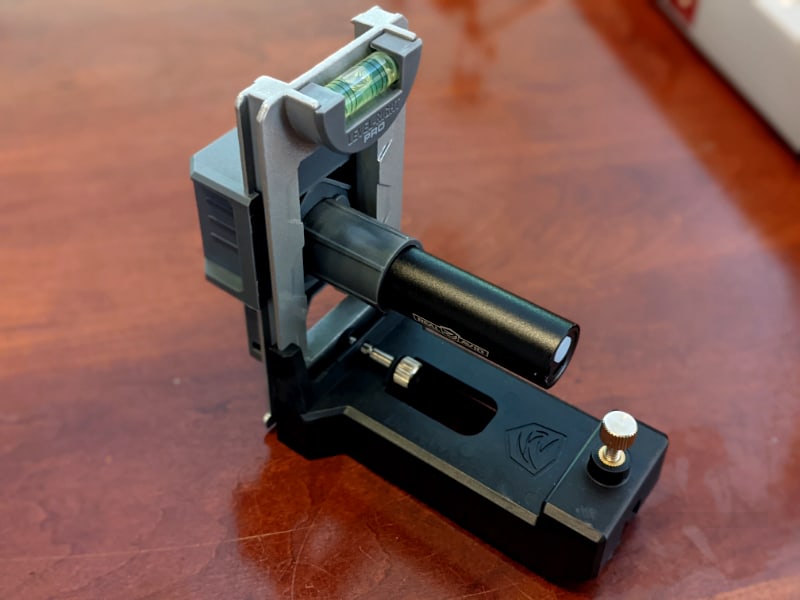
The faceplate with scope saddle is shown with the standard barrel mount attached.
Though a slightly canted reticle may not be noticeable at close ranges, accuracy begins to suffer the further out you push your rounds. Zeroes change and you lose confidence in your equipment and shots. Designed to maximize accuracy at all distances, the Level Right® Pro helps align the reticle to the rifle bore. Though it is assumed scope turrets are perfectly aligned with the reticle, this isn’t always the case. This makes it possible for the turrets to be level to the gun and the reticle not to be.

The rechargeable light projector shines through the scope and projects the reticle onto a grid.
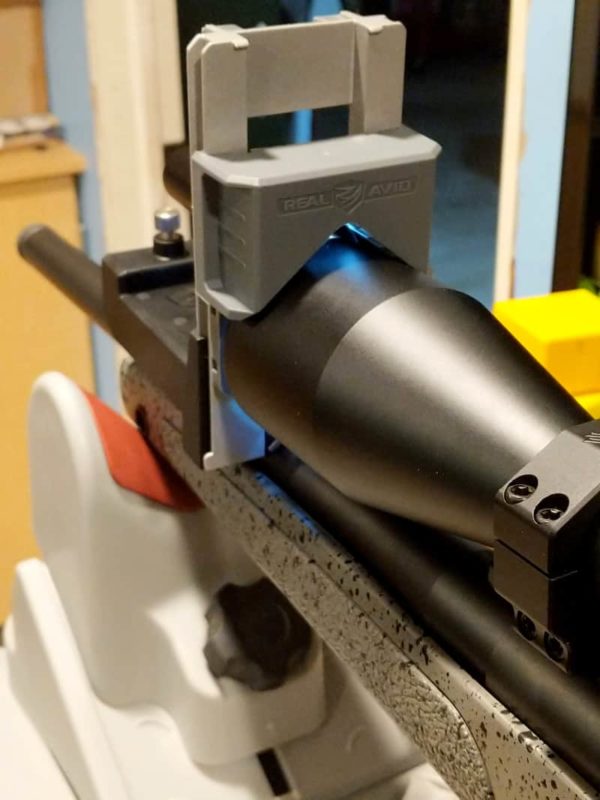
The rechargeable light projector attaches to the scope saddle which should be slid over the barrel end of the scope being aligned.
Included in the box is a precision alignment grid, faceplate with scope saddle, Picatinny top rail mount, standard barrel mount, mini-tripod, and rechargeable light projector with USB recharging cable. The two mounts allow you to use the system on multiple styles of rifles. The first step, after choosing the relevant mount and securing it to the saddle is to place the mount on the barrel and align the reticle. The scope saddle (the gray piece the flashlight is attached to) slides up and down. Start with it all the way up and adjust the mount until the faceplate is level. Secure the mount and slide the scope saddle down over your scope. At this point the scope should be within slightly tightened rings but retain the ability to spin. Attach the alignment grid to the mini tripod and adjust the legs so the bubble in the level on top of the grid is centered. Position it directly behind the stock but in line with the scope. With both levels matching, turn on the light projector/flashlight. It will shine through the scope, projecting the reticle on the grid. If it is too faint to see, turn off a light or darken the area until it shows clearly.
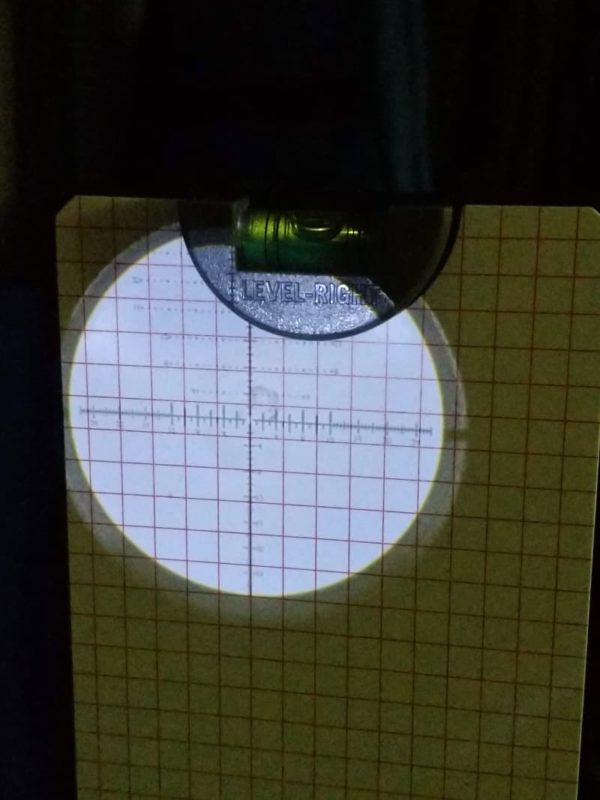
You can adjust the grid height so you can see the reticle clearly and align the crosshairs to the horizontal and vertical lines on the grid.
I was incredibly impressed. It was easy and intuitive to spin the scope until the crosshairs fell directly on the horizontal and vertical lines. Assuming the scope crosshairs are perfectly perpendicular (if they aren’t there is a major quality control problem), you only need to align one half of the reticle and the rest will fall into place. I never really knew if the scope was really remaining level while I tightened and torqued ring screws. I’d watch the tiny bubbles, but they would always shift ever so slightly. The Level Right® Pro allowed me to watch what was happening inside the scope as I tightened the screws and to make minor adjustments during the process based on what I saw on the grid.
The system is lightweight and portable. The light projector is also USB rechargeable, eliminating the need for batteries. I’ve used this on several projects now and it has quickly become a necessity and integral piece of my tool set. It comes with my highest recommendation.